Course Outline
Template Creation
TEMPLATE CREATION
Setting up a new template allows Indigo Pro to automatically recognise and process invoices and documents such as credit notes and statements, from suppliers.
Templates will need to be setup for each document type you would typically receive for each supplier, and additional templates will need to be setup for documents that have more pages e.g. Setting up separate templates for single page documents and multi-page documents
Getting started with template creation
To get started creating a template for an Invoice, first open an invoice from the New Documents page, by clicking the black page icon next to an invoice in the list. After opening the document, click into the “Create template” icon at the top of the page

After clicking “Go to Create Template” you’ll be brought to a page showing you a preview of the document, alongside the following menu on the right hand side:
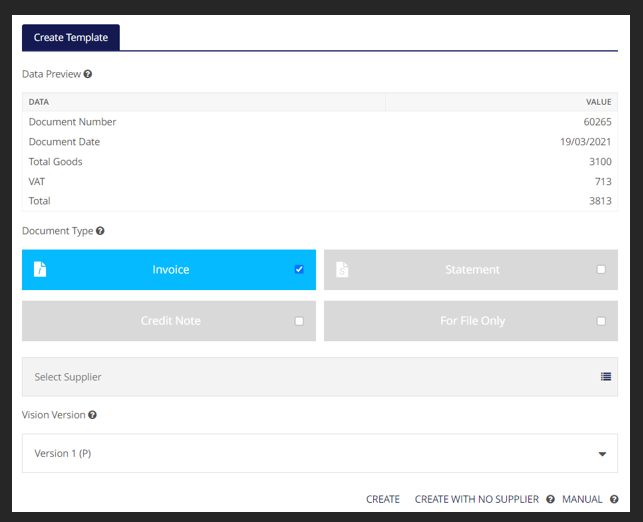
- Data preview: This is the information that Indigo Pro was able to automatically retrieve from the document
- Document Type: Indigo Pro will attempt to pick up the type of document that its looking at, make sure to double check this document type against the PDF image on the left of the screen to ensure you’re using the correct type of template
- Supplier box: Used to select the supplier that the document has come in from
- Vision version: the type of Computer Vision used to read characters from the document, Most of the time this can remain at Version 1 (P)
First, click the “Select Supplier” box, find the supplier that sent in the document, and click the Tick icon on the left hand side to select this supplier.
After selecting the supplier, you’ll be brought to the Supplier Rules window (as shown below). From here you can setup the rules by which documents from this supplier will be processed.
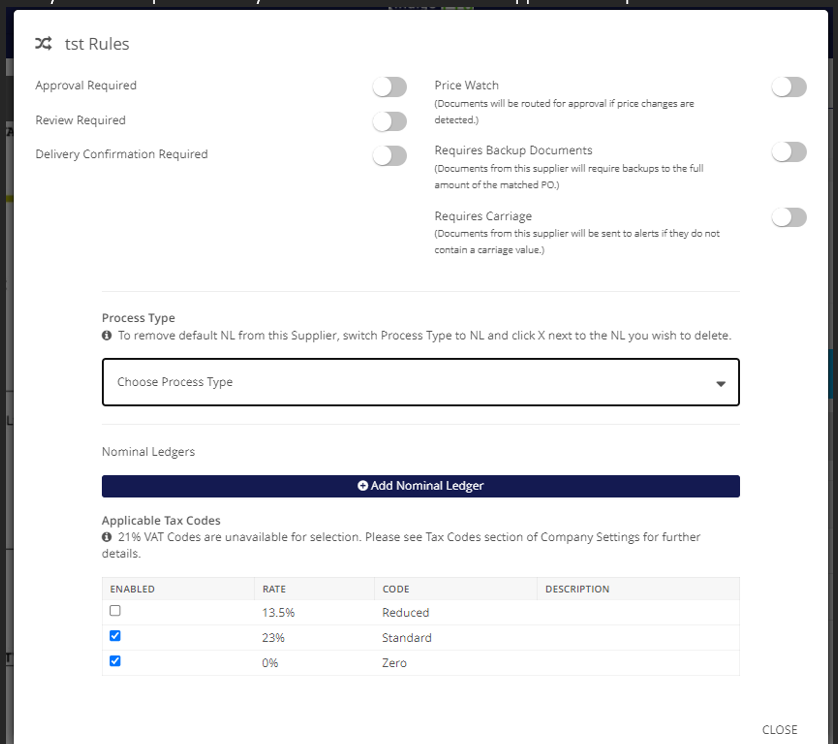
From here you can select the Process Type (whether this supplier is processed via PO numbers, or through nominal ledgers. And select any VAT Codes that apply to this supplier. After setting up the supplier rules, just click "close" and select "create" from the bottom of the page.
You can also choose to setup the template without a supplier attached, and select the supplier at a later date by clicking "Create with no supplier" from the bottom of the page, matched documents will go into the Alerts folder until a supplier has been selected.
Template creation:
After clicking "Create" Indigo pro will bring you to the template creation screen, on the left you can see the PDF document that was retrieved from the supplier's email, and on the right you will see the template setup editor.
The first selection to be made in the template editor is the Identify tab on the right hand side, you can see how this works in the clip below.
*insert identify Gif here*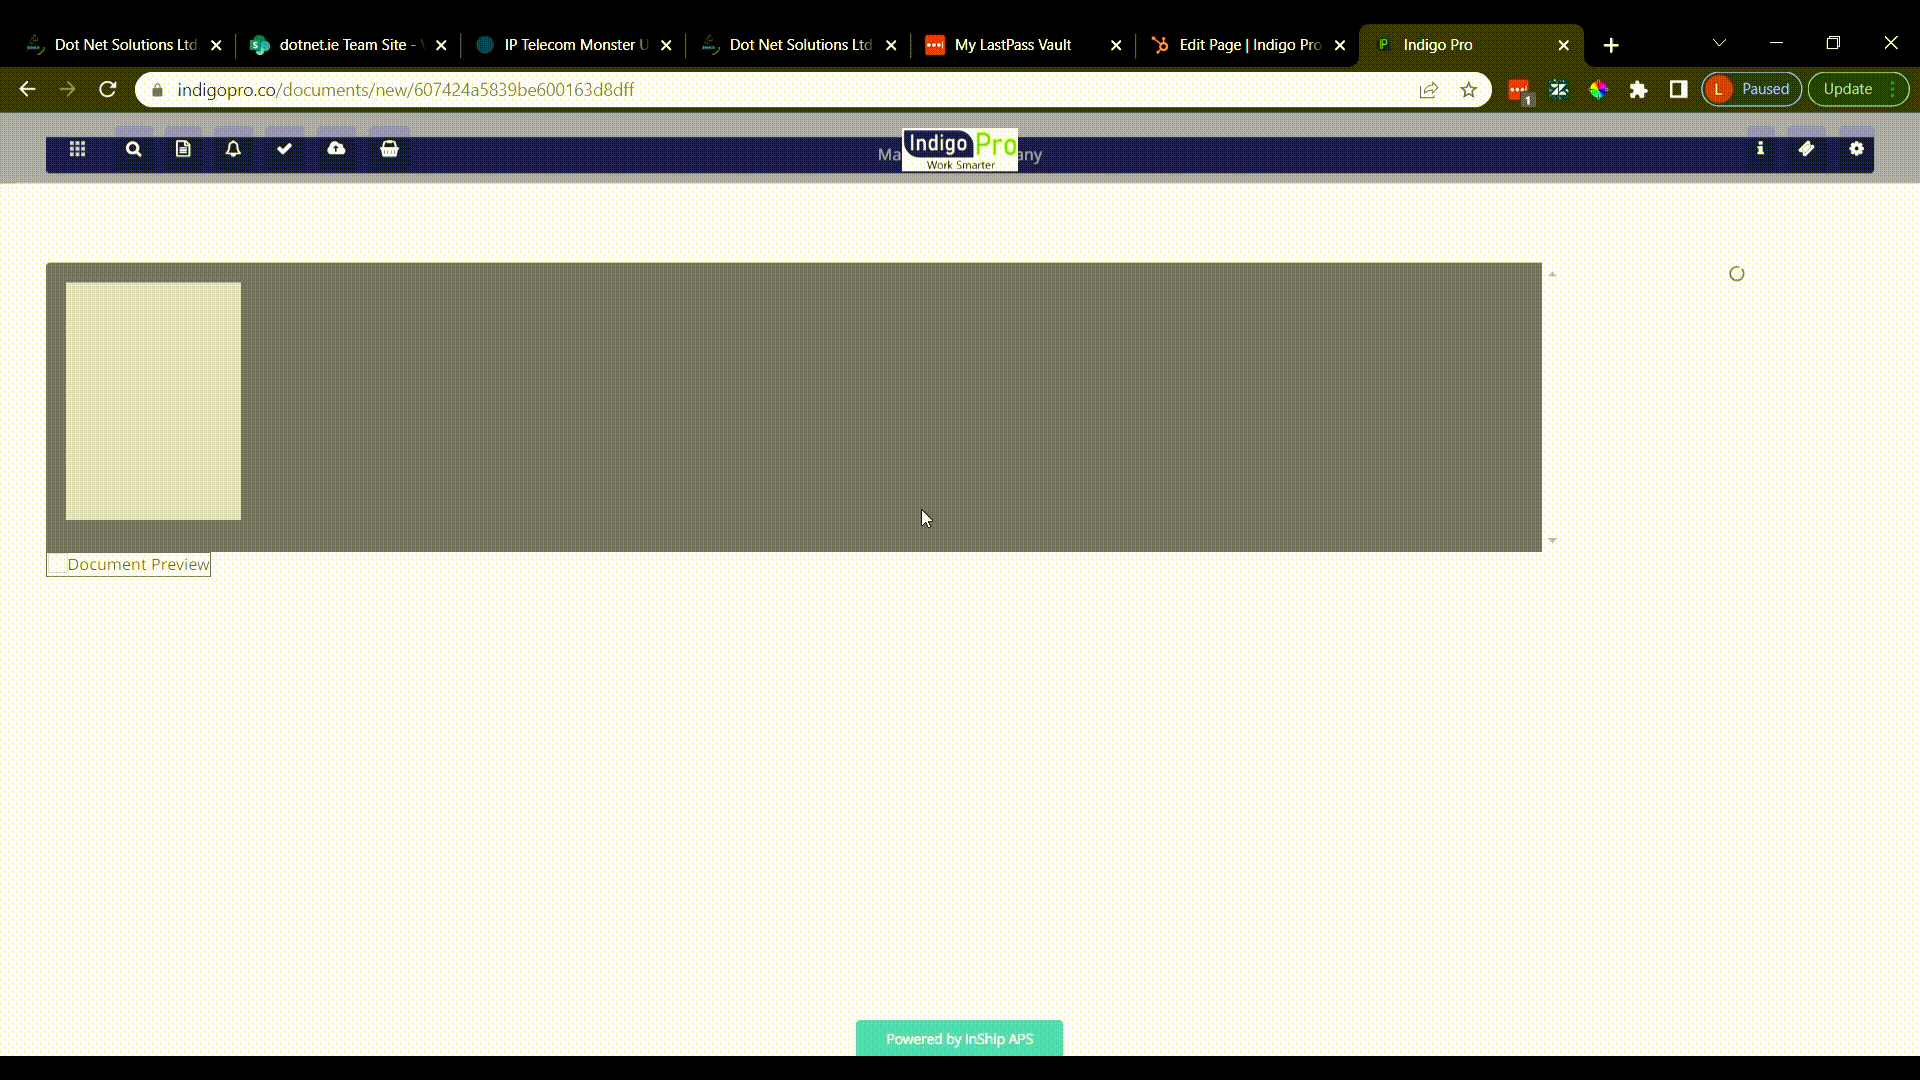
You must first Show Indigo Pro how to identify the type of document, in this case its an invoice, so you click the first option, and draw a box over the word “invoice” on the top of the document.
The template setup menu will automatically jump to the next selection once you’ve made your selection.
Next you will draw a box over the company’s Logo, so that Indigo Pro can identify which supplier this document is from.
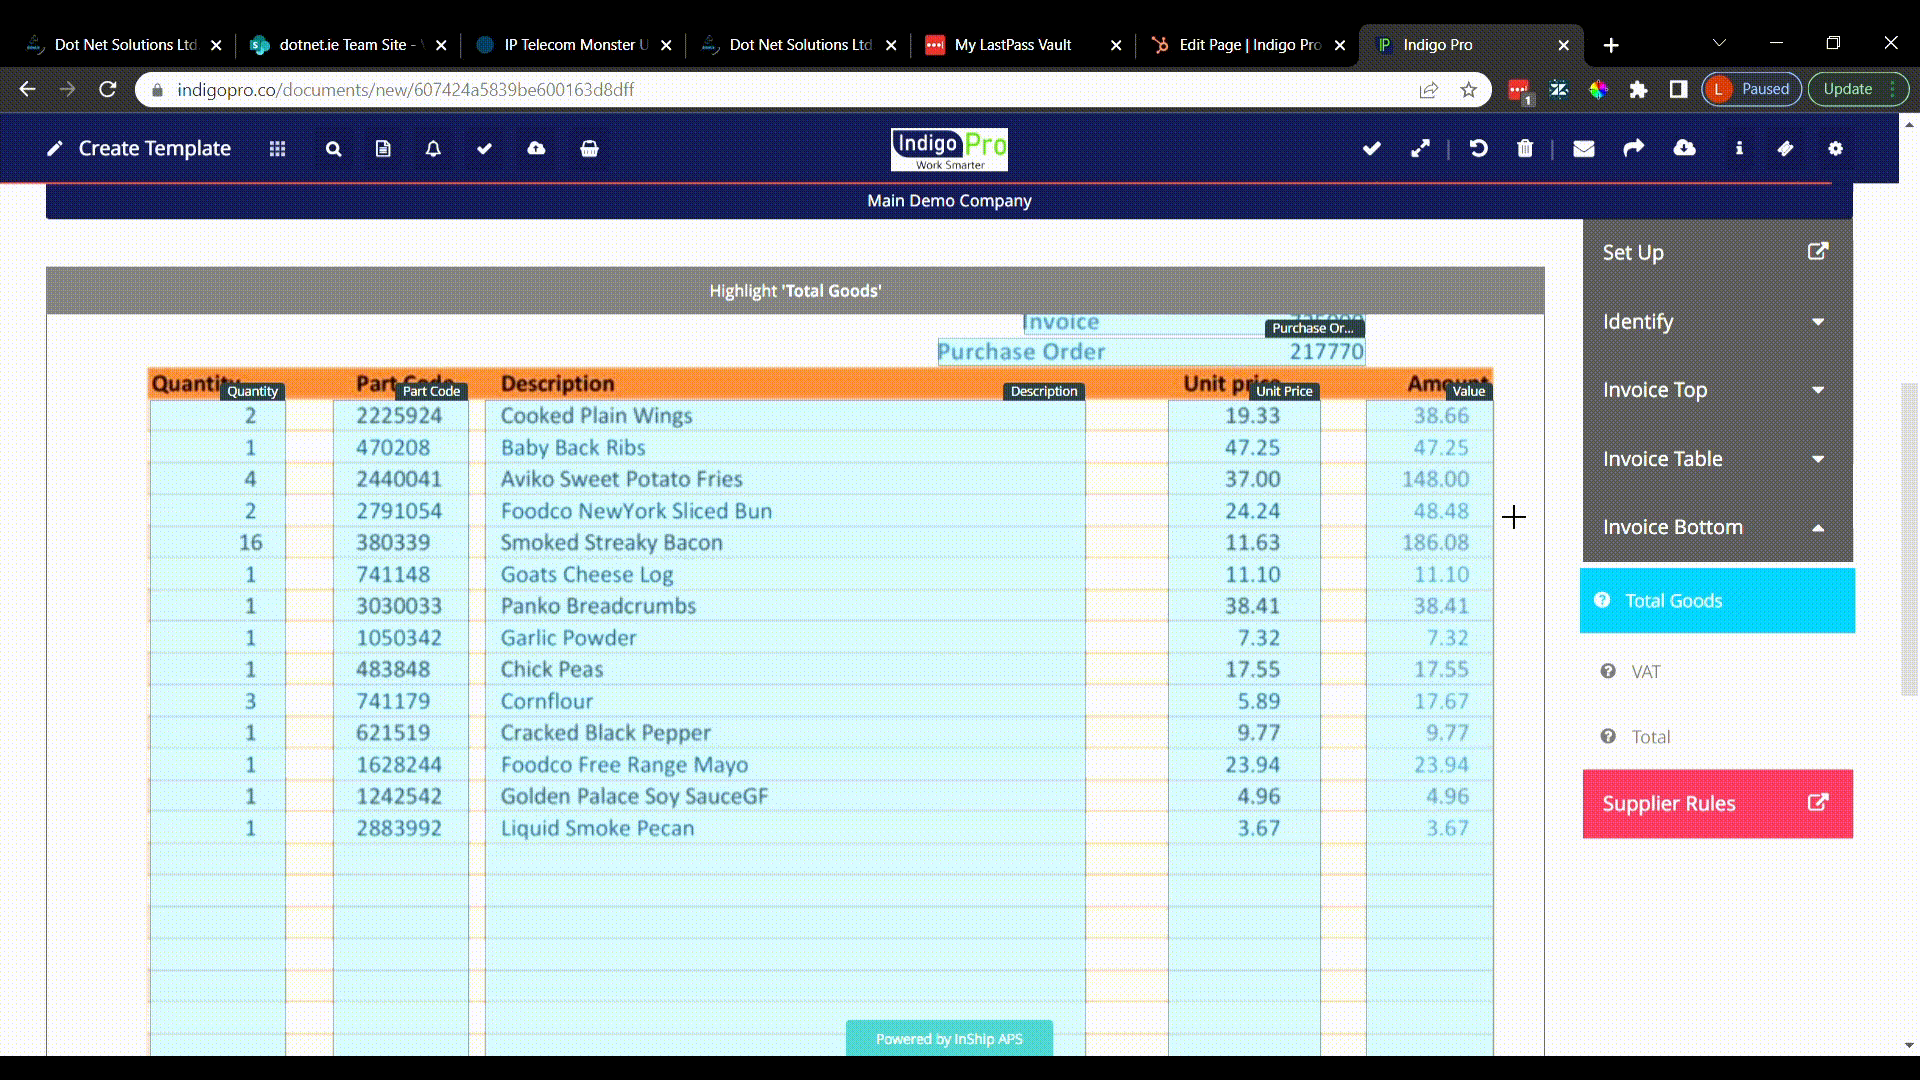
The next step is to setup the Invoice Top section, and show Indigo Pro how to identify the top of the invoice
*Insert invoice top gif*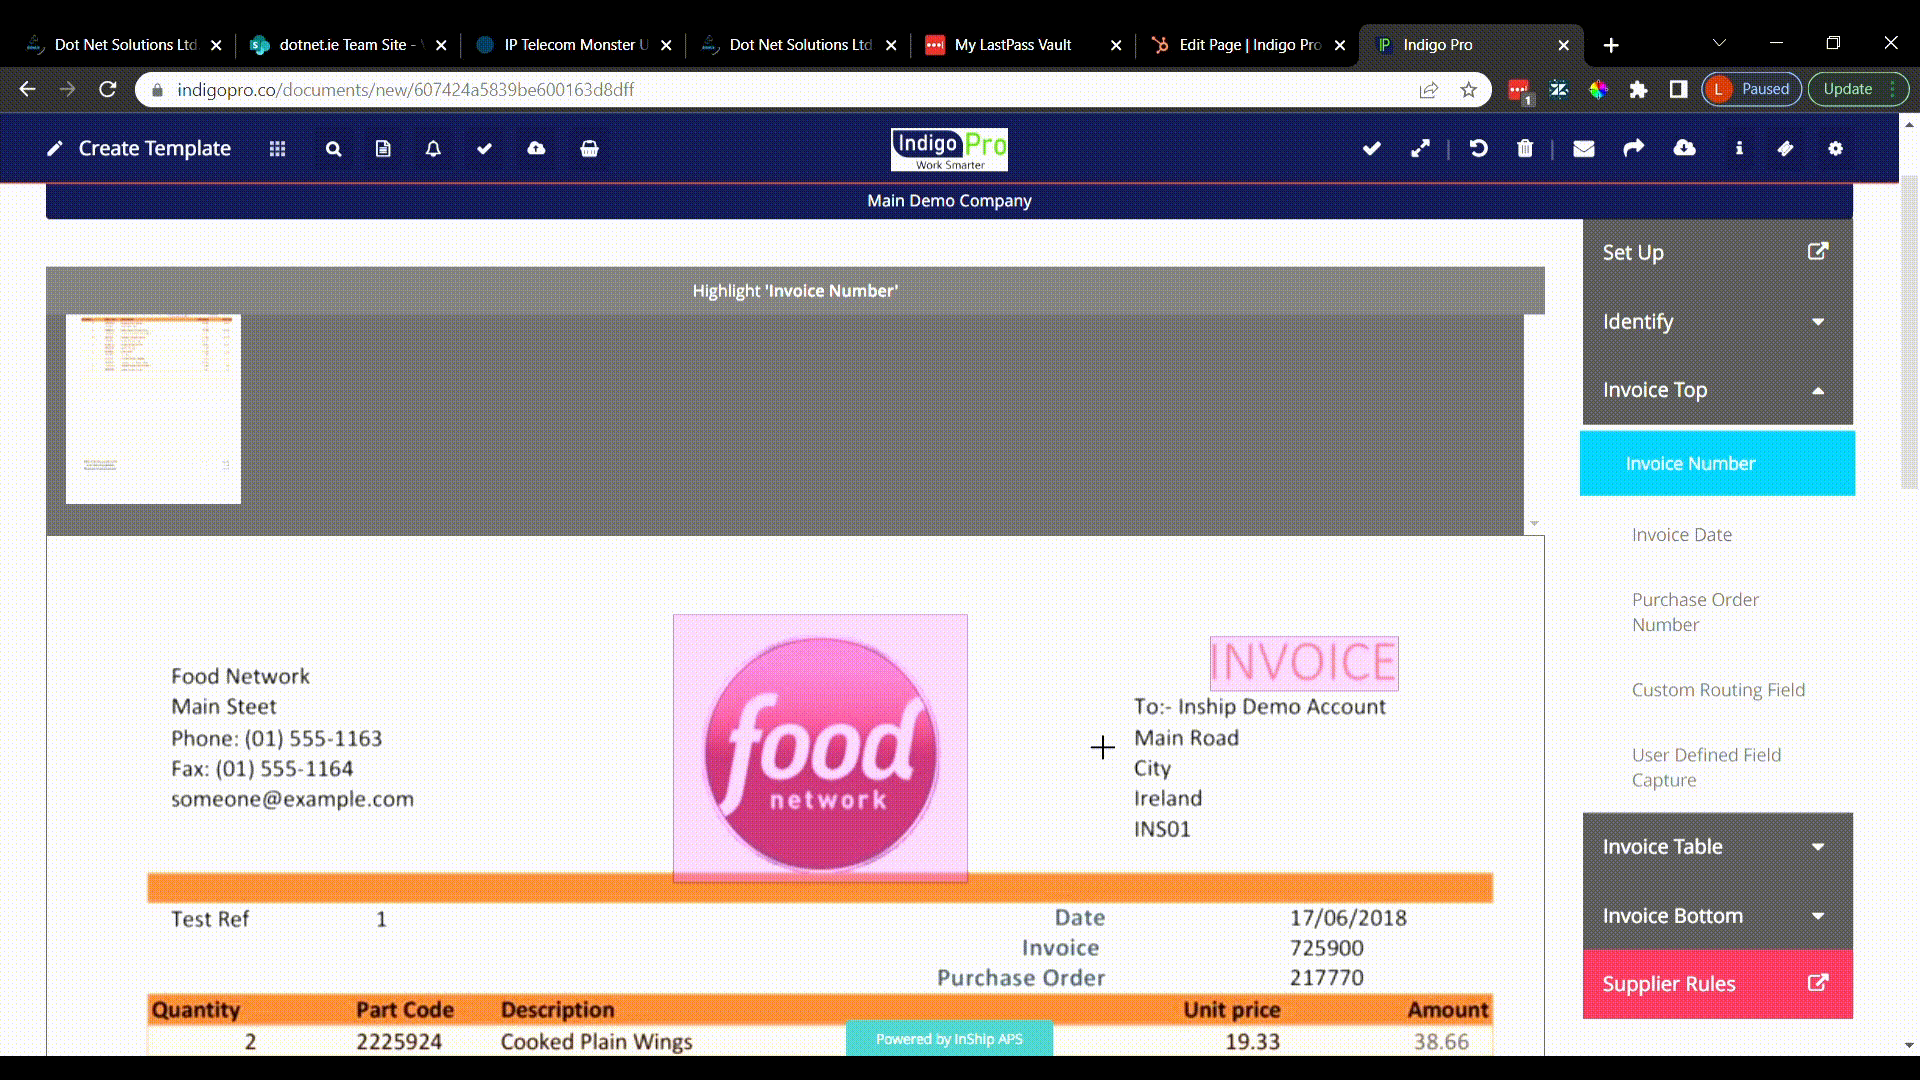
Next up is the Invoice table, just follow the same process as before, but this time just draw your selection box over the line items in the table.
*insert invoice table gif*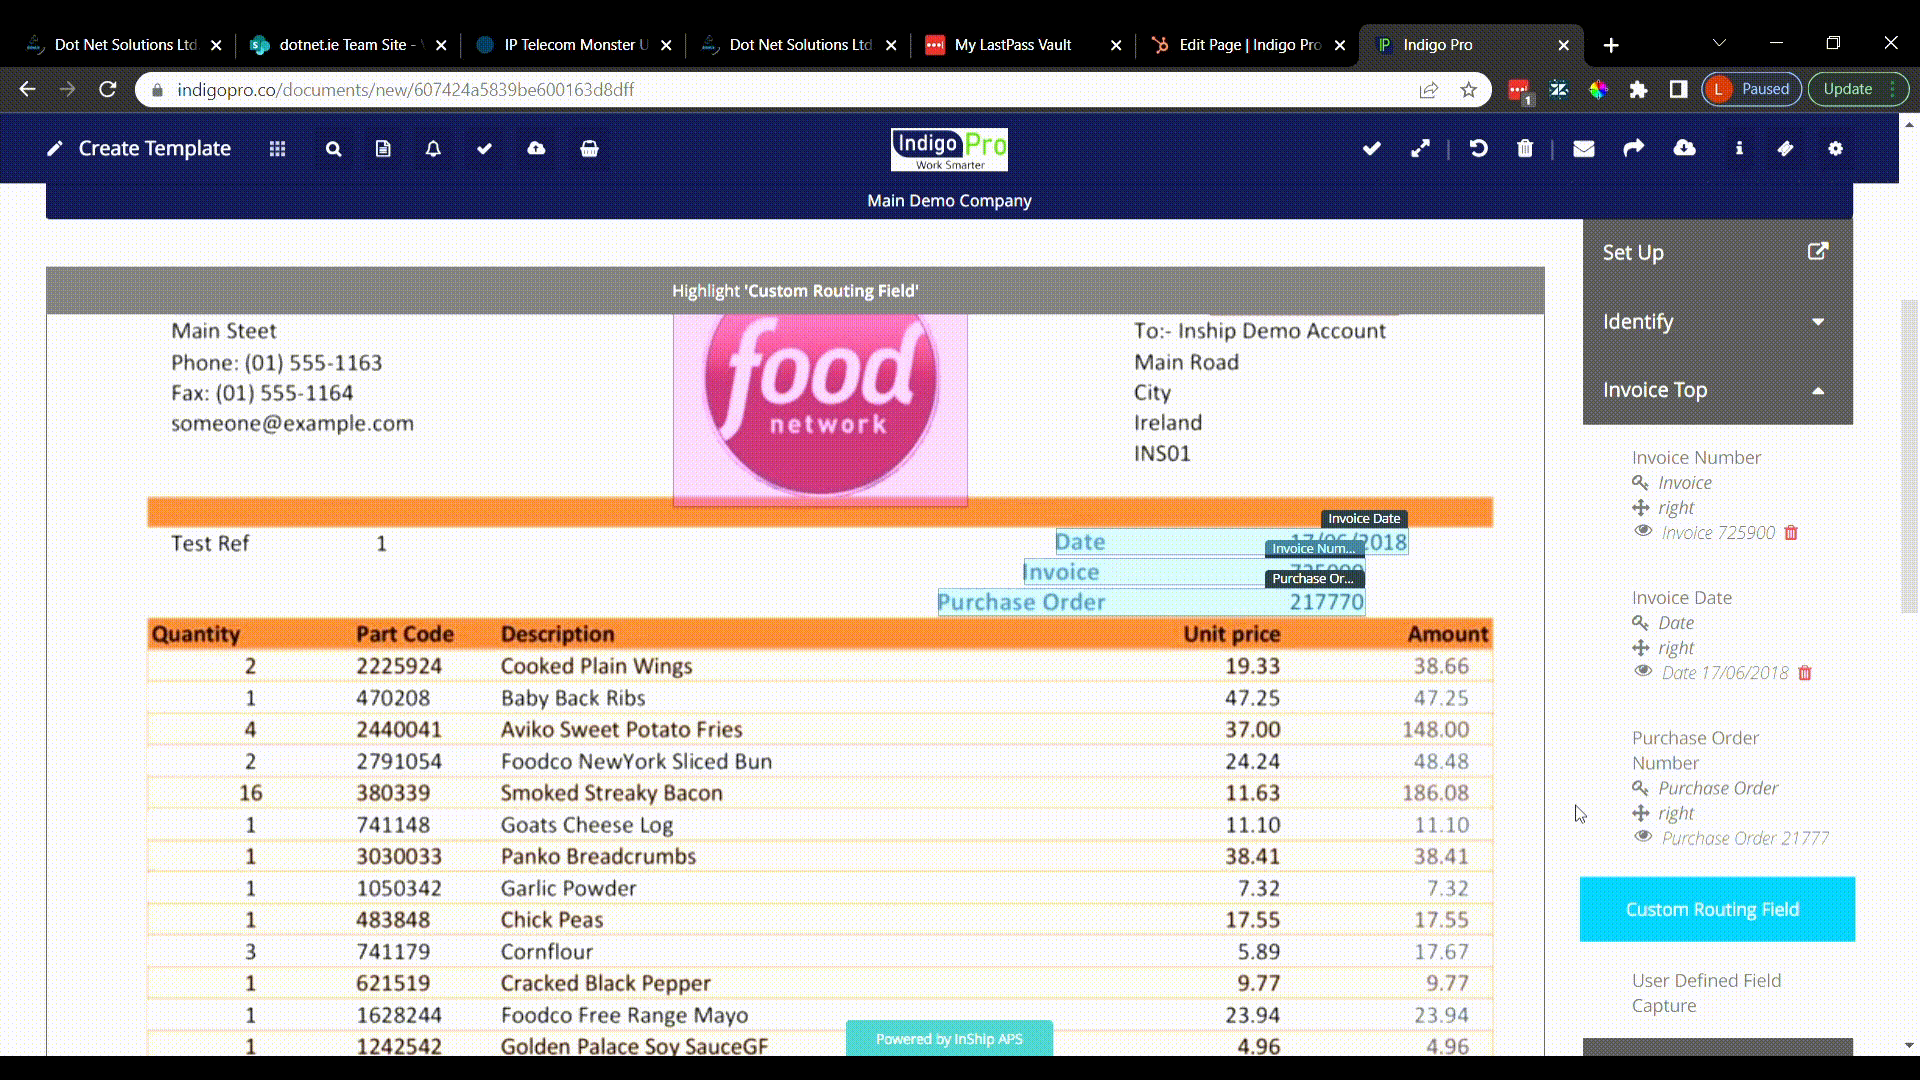
Ensure you stretch the box all the way to the bottom of the list, so that the template will look for line items further down the page on other documents that come in.
Finally just draw the template boxes for the bottom of the invoice, this includes the Total, Vat, and Total Goods values.
Insert Invoice bottom gif